
E-commerce Domination: Why WooCommerce Reigns Supreme
WooCommerce has become the go-to platform for aspiring entrepreneurs and established businesses a like to launch their online stores. But what exactly makes it such a dominant force in the e-commerce world? Buckle up, because we're diving into the key ingredients of WooCommerce's success story:
- Free & Easy: Built on user-friendly WordPress, WooCommerce is free to use and doesn't require coding knowledge.
- Flexibility & Scalability: A vast library of extensions lets you customize your store and add features as your business grows.
- Open-Source Power: You have full control over your store's data and future, unlike closed platforms.
- Seamless WordPress Integration: Leverage the power of blogging and content creation to attract and engage customers.
In short, WooCommerce offers a user-friendly, affordable, and scalable platform for entrepreneurs to build and manage their online stores.
Effortlessly Launch Your Store: A Step-by-Step Guide to Installing and Setting Up WooCommerce
WooCommerce transforms your WordPress website into a powerful online store. Here's a breakdown of the installation and setup process to get you started quickly:
Prerequisites:
- An active WordPress website with administrative access.
- A reliable web hosting provider.
Step 1: Install the WooCommerce Plugin
1. Log in to your WordPress dashboard.
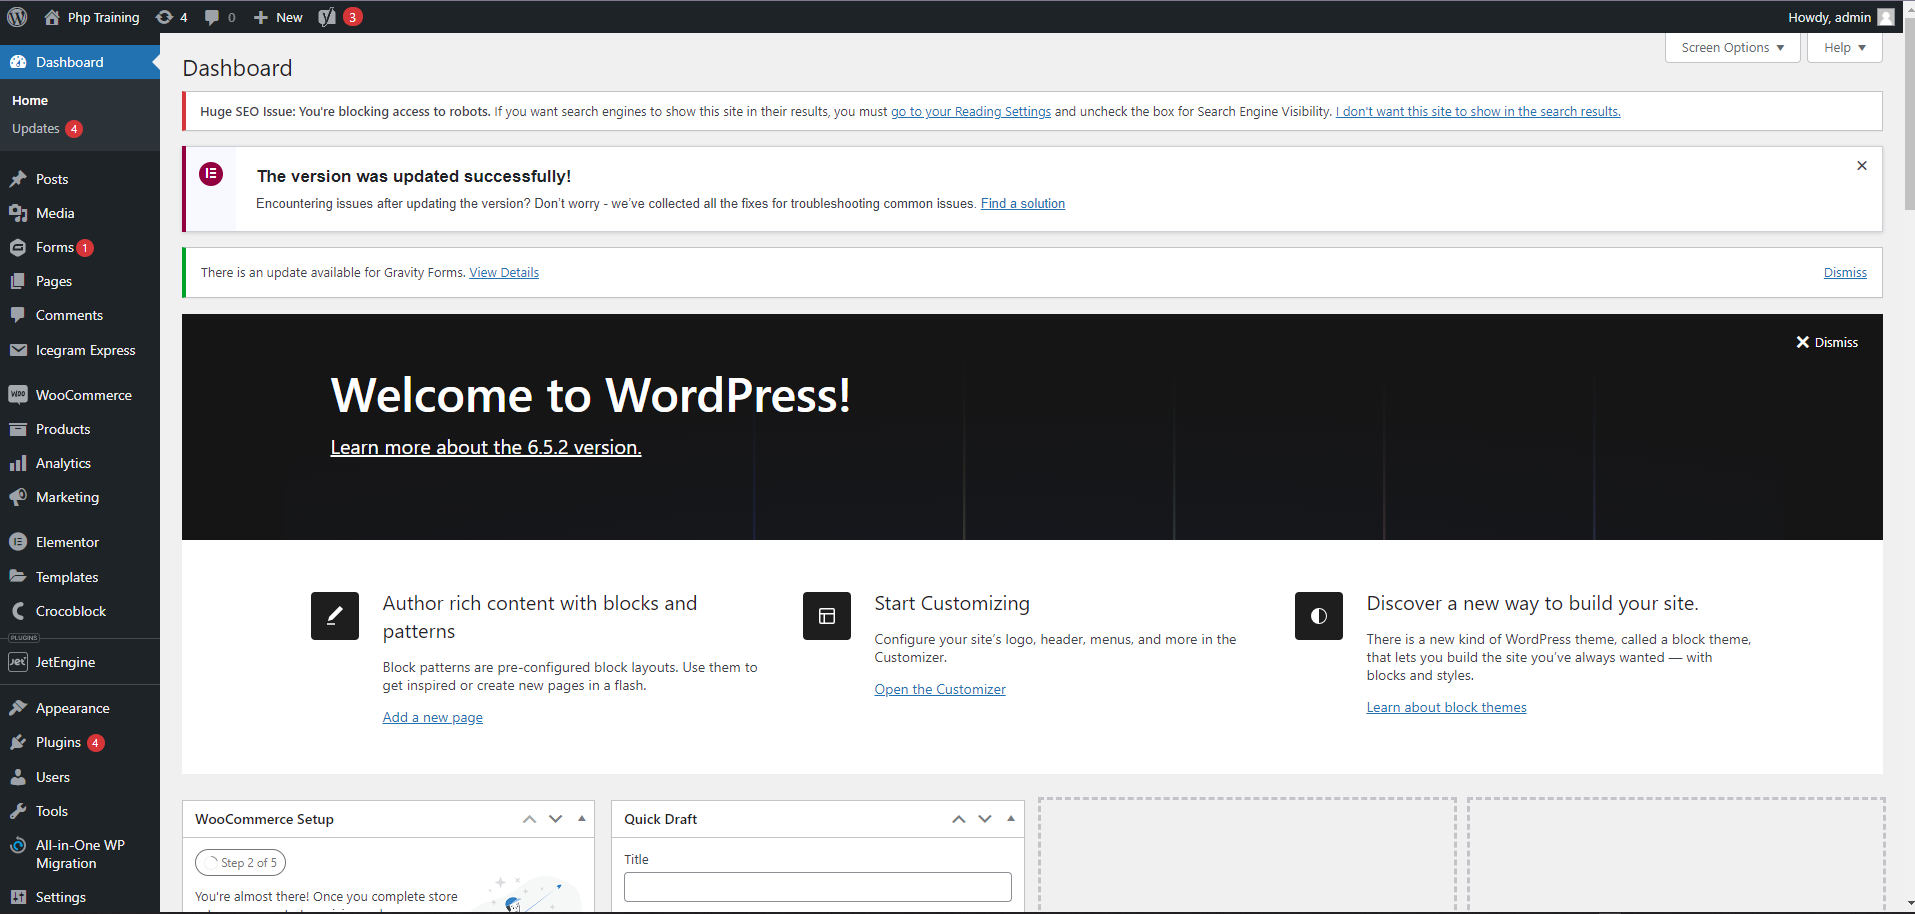
2. Navigate to Plugins > Add New.
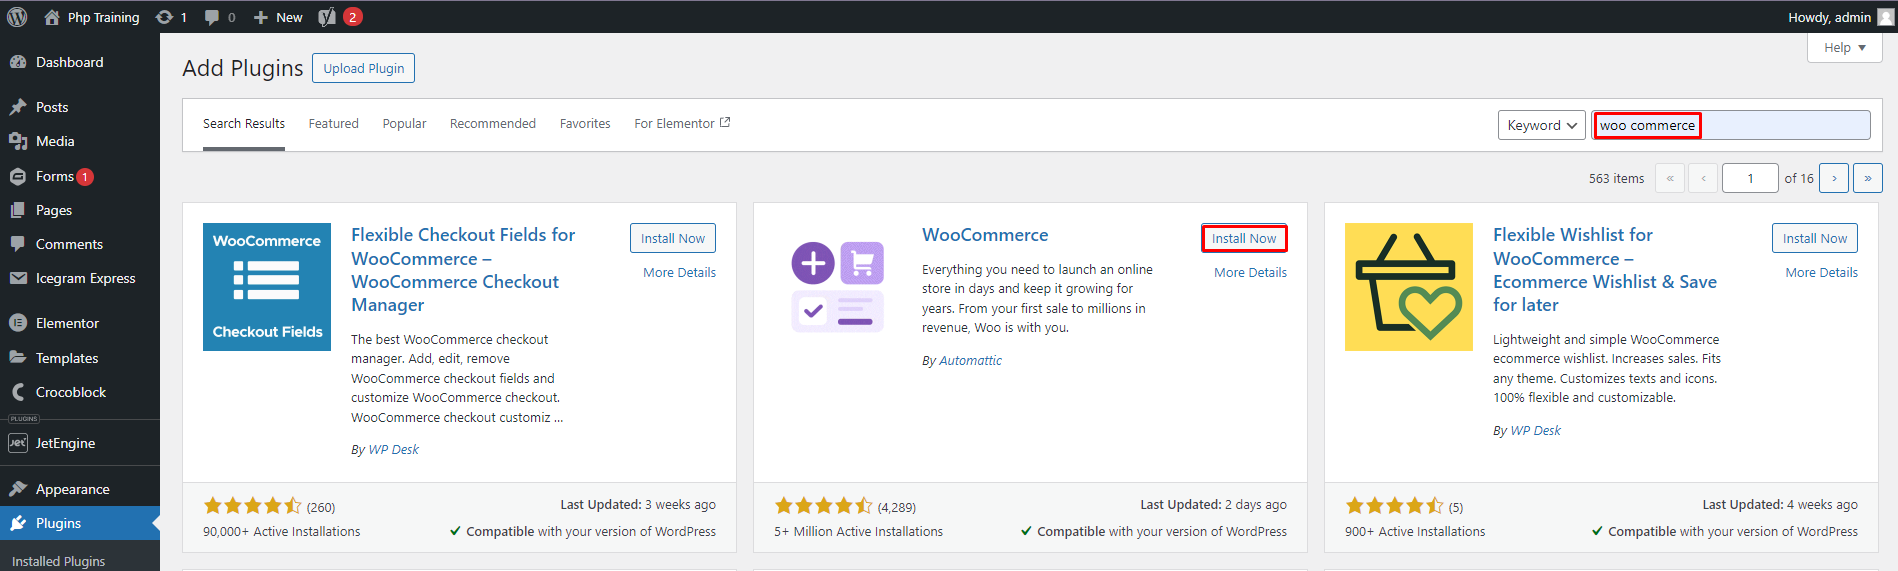
3. Search for “WooCommerce” in the search bar.
4. Click Install Now and then Activate the plugin.
Step 2: Run the WooCommerce Setup Wizard (Optional but Recommended)
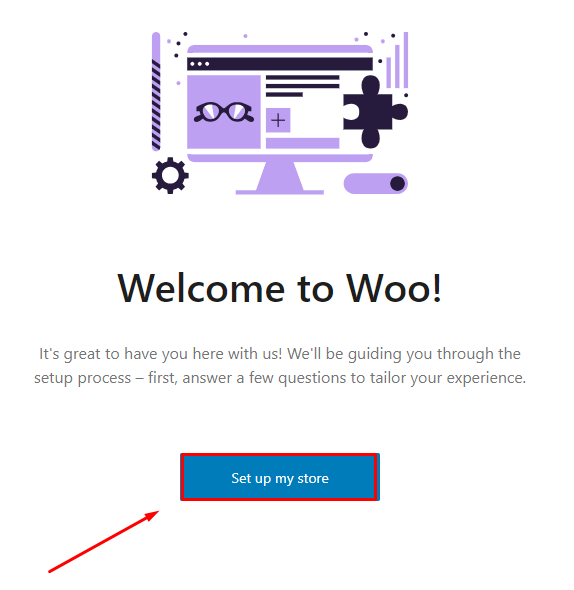
1. Upon activation, you'll be prompted to run the setup wizard. Click Let's Go!.
2. Store Location: Enter your store address and preferred currency.
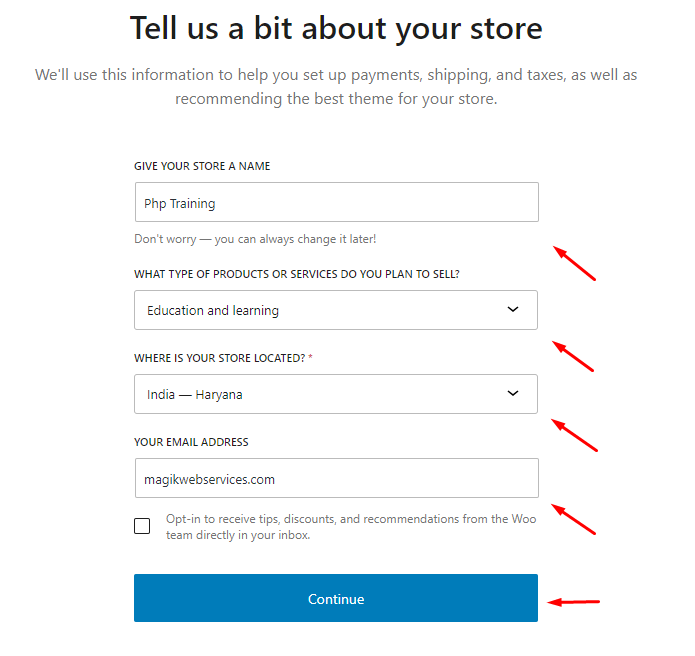
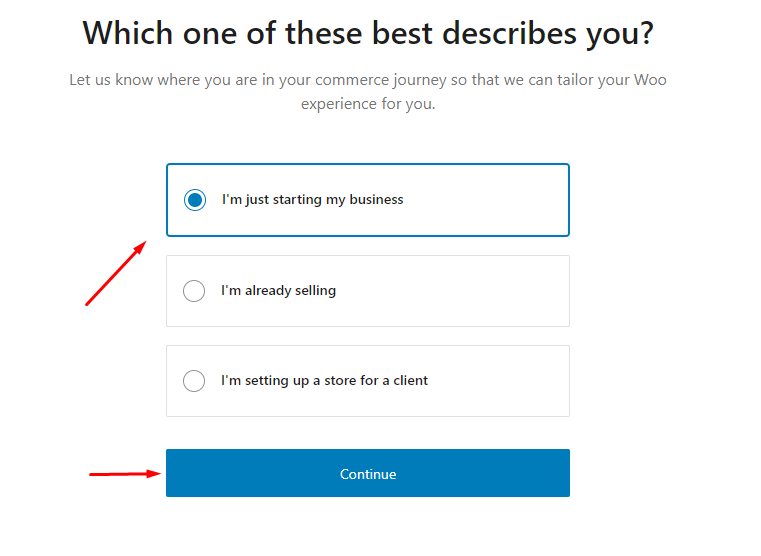
3. Industry: Select the industry that best describes your products.
4. Product Types: Choose the types of products you plan to sell (physical, digital, etc.).
5. Business Model: Indicate if you plan to sell directly or manage subscriptions.
6. WooCommerce Pages: The wizard will automatically create essential store pages (cart, checkout, etc.). You can review and customize them later.
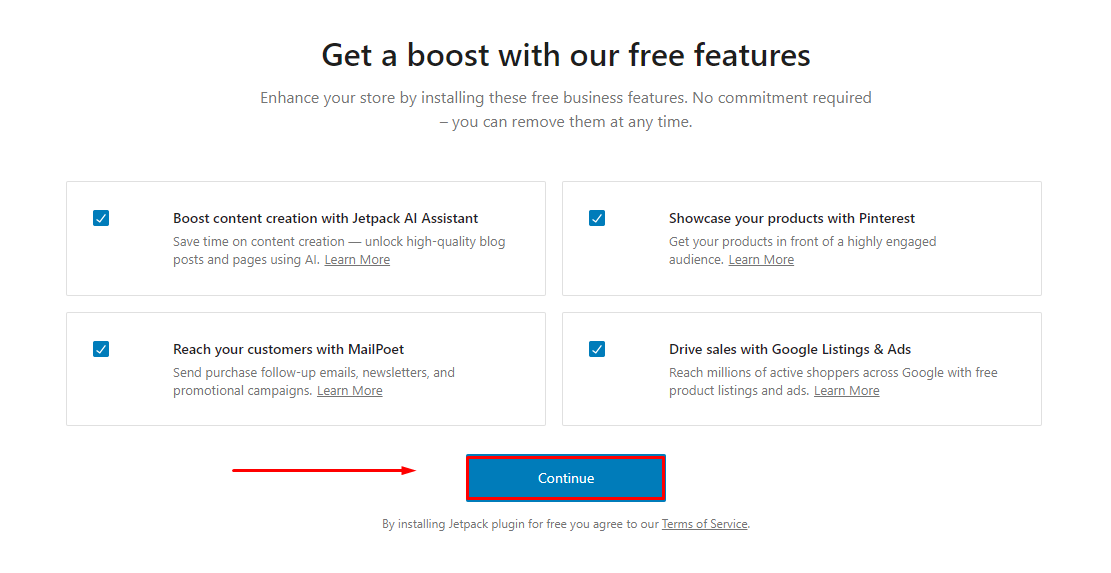
7. Jetpack (Optional): This is an optional marketing and security plugin. Choose to connect or skip for now.
8. Start your woocommerce.
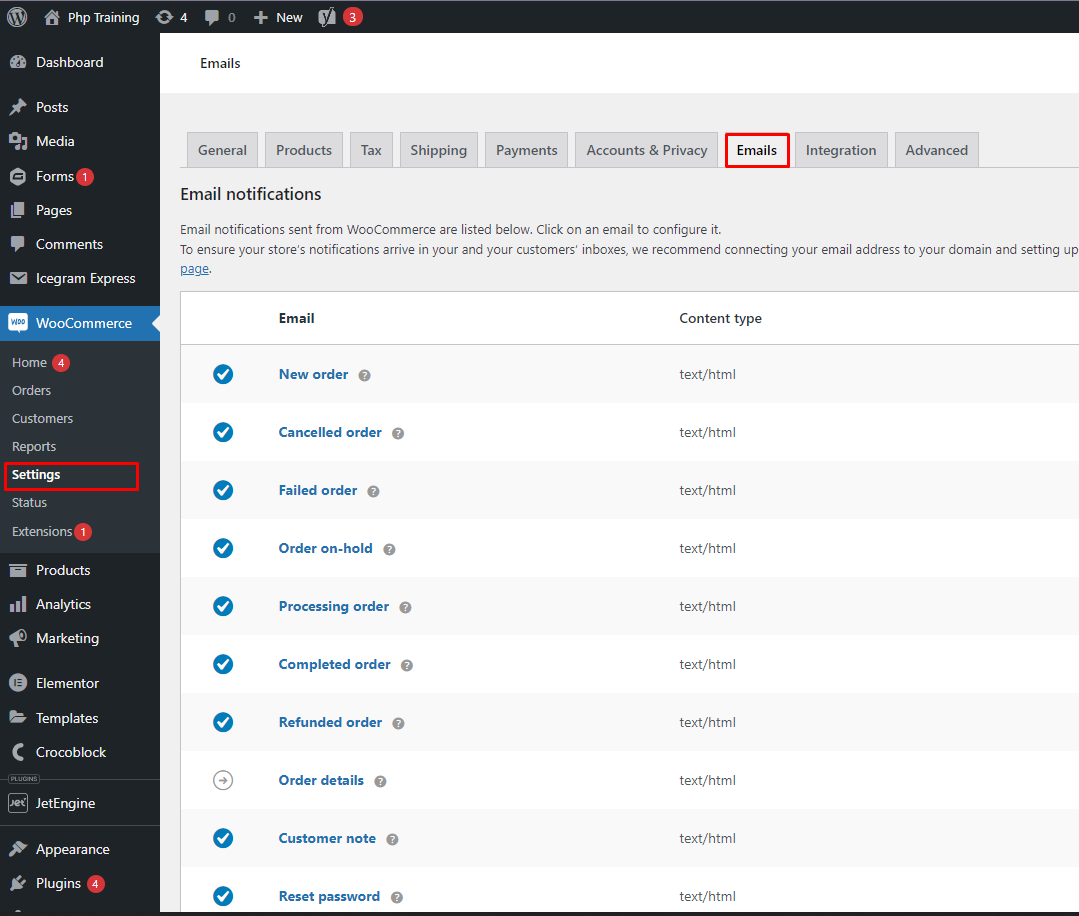
Step 3: Configure Your Store Settings
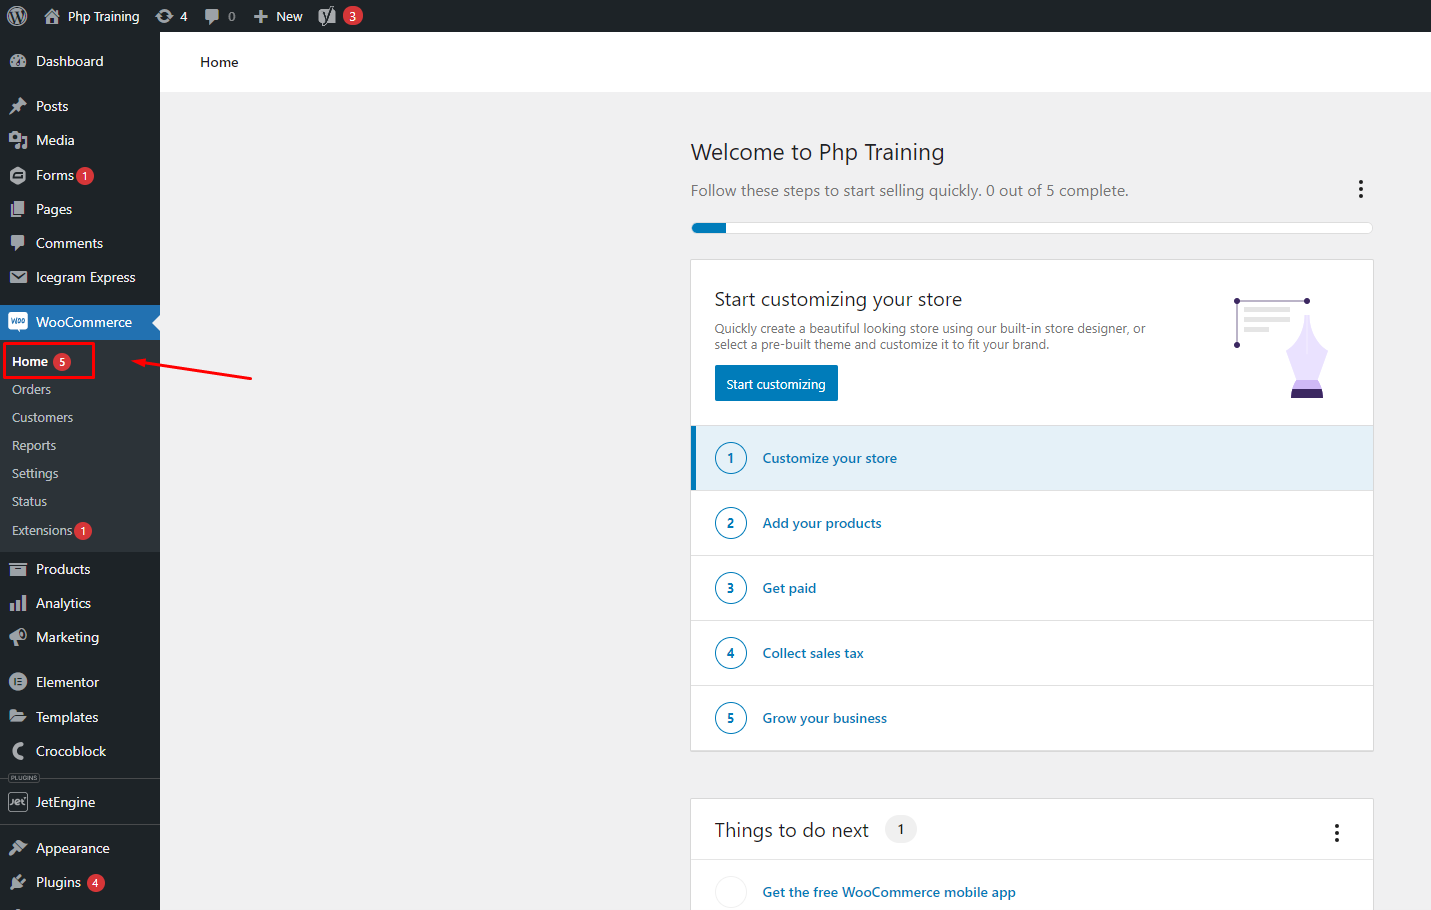
- Navigate to WooCommerce > Settings in your WordPress dashboard.
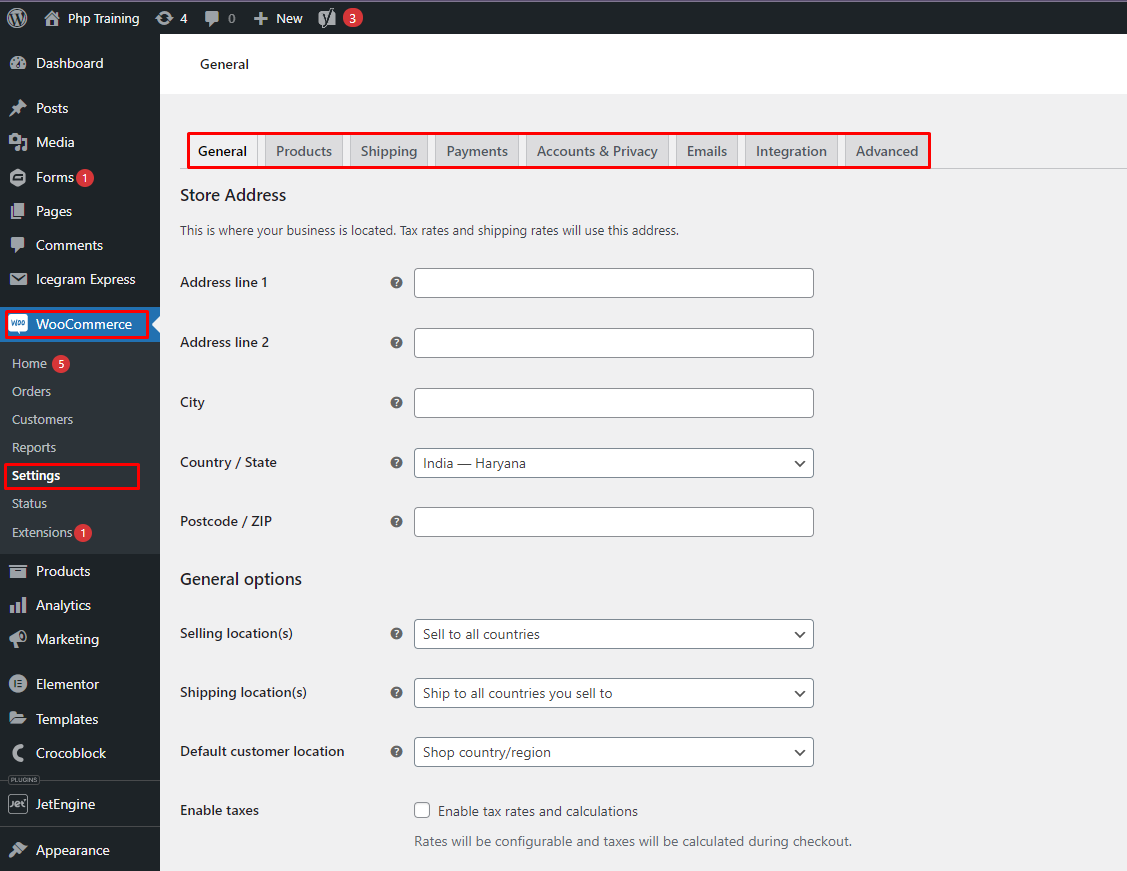
- Here you can further customize various aspects of your store, including:
-
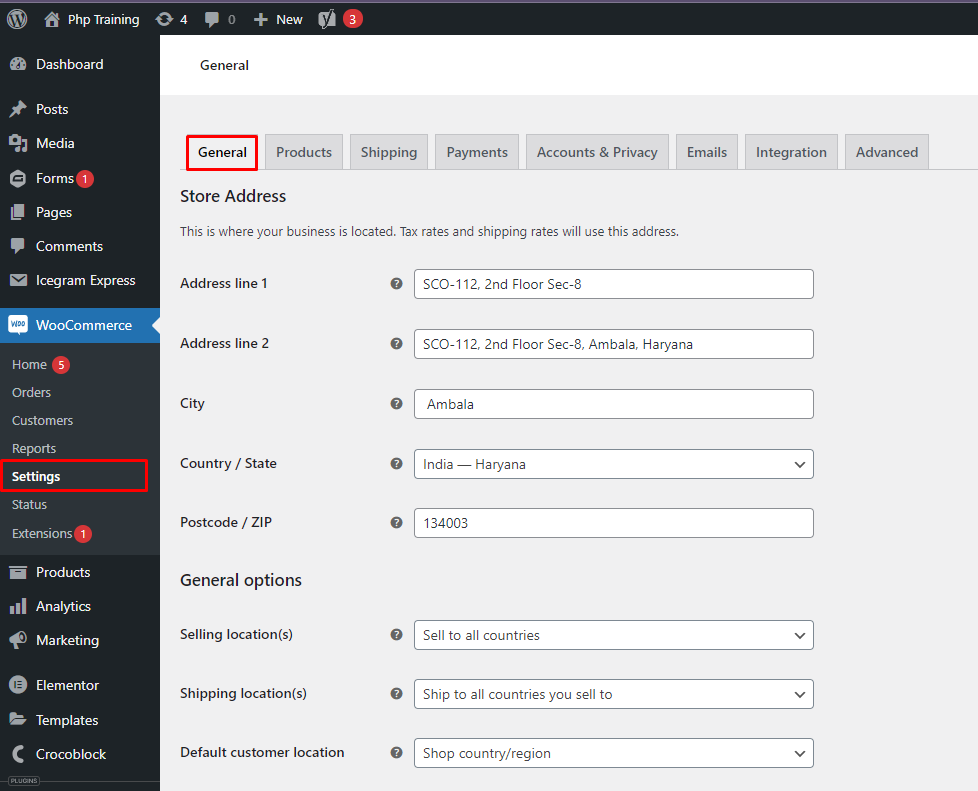
- General: Refine your store address, currency, and shipping options.
-
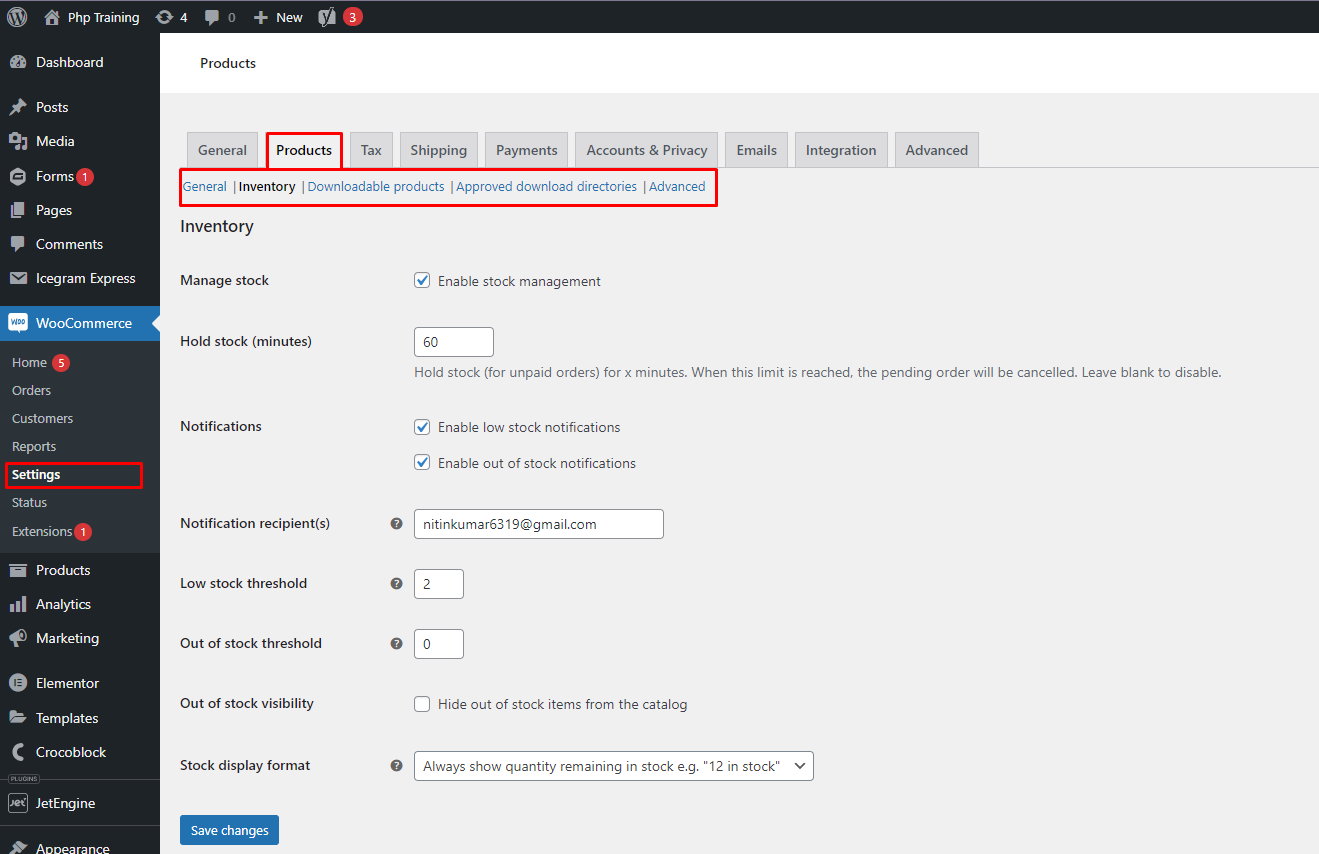
- Products: Set up product inventory management and tax settings.
-
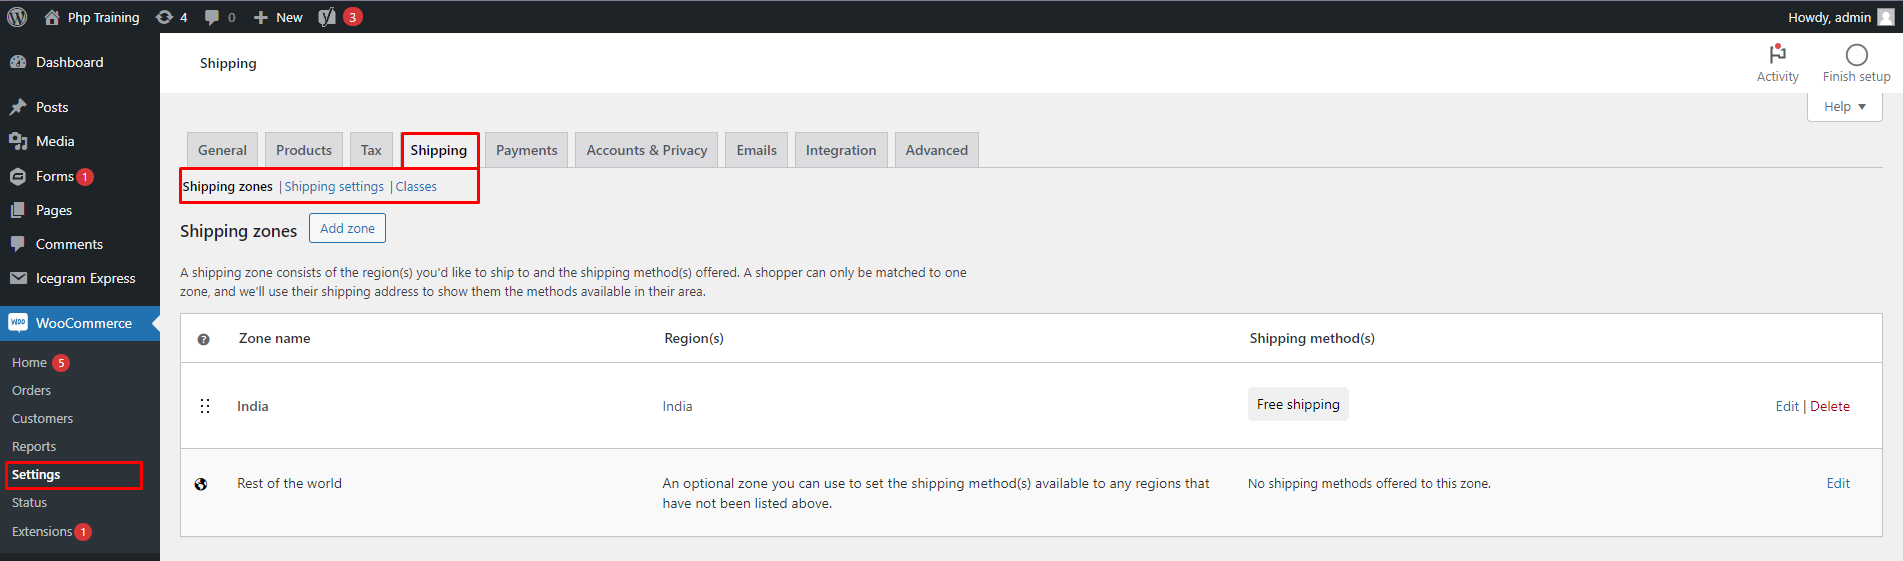
- Shipping: Configure shipping zones, rates, and real-time shipping options (if desired).
-
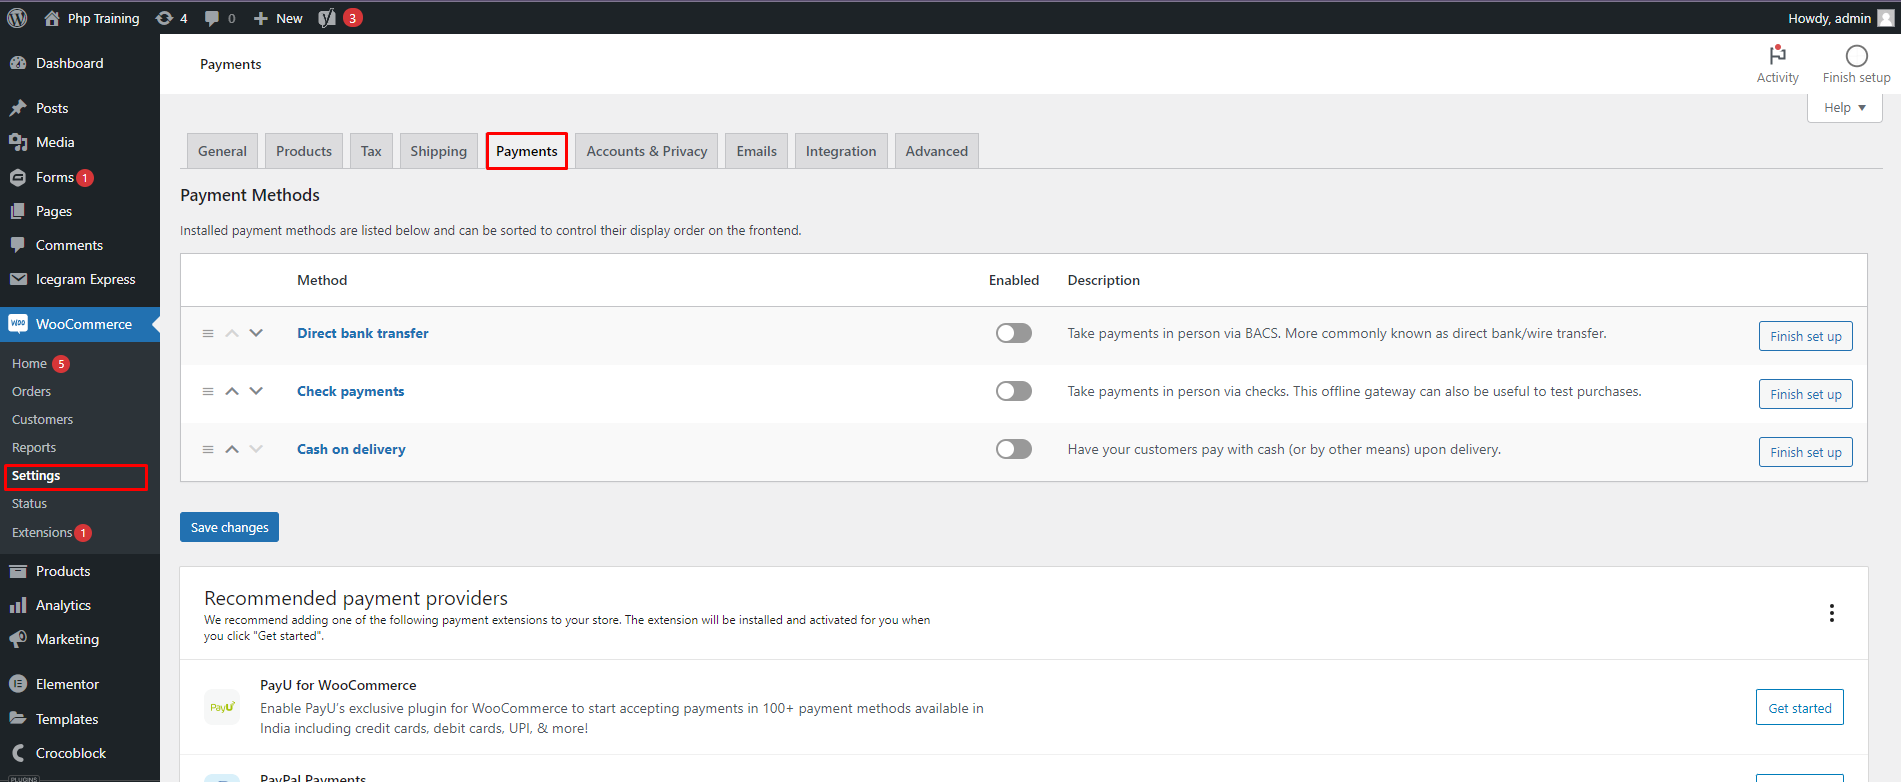
- Payments: Integrate with your preferred payment gateways (e.g., Stripe, PayPal).
-
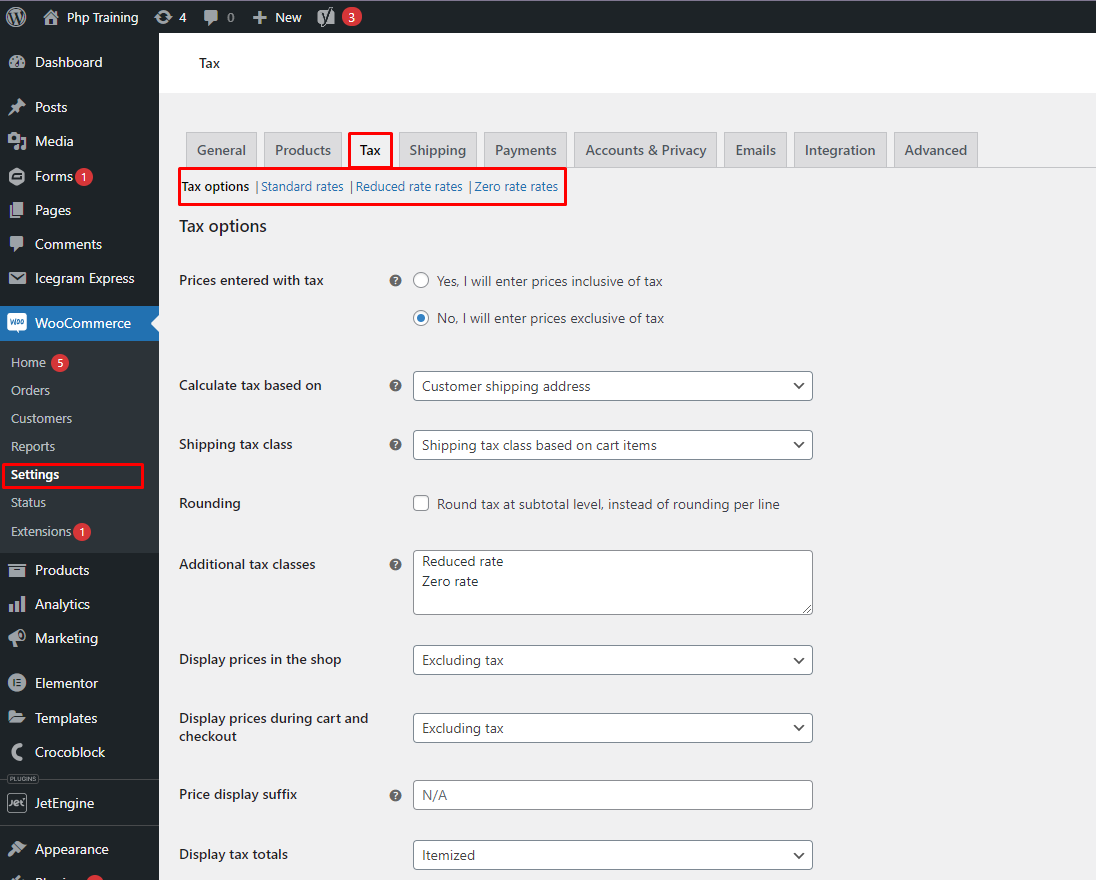
- Taxes: Enable automatic tax calculations or configure manual rates.
-
- Other options in setting.
-
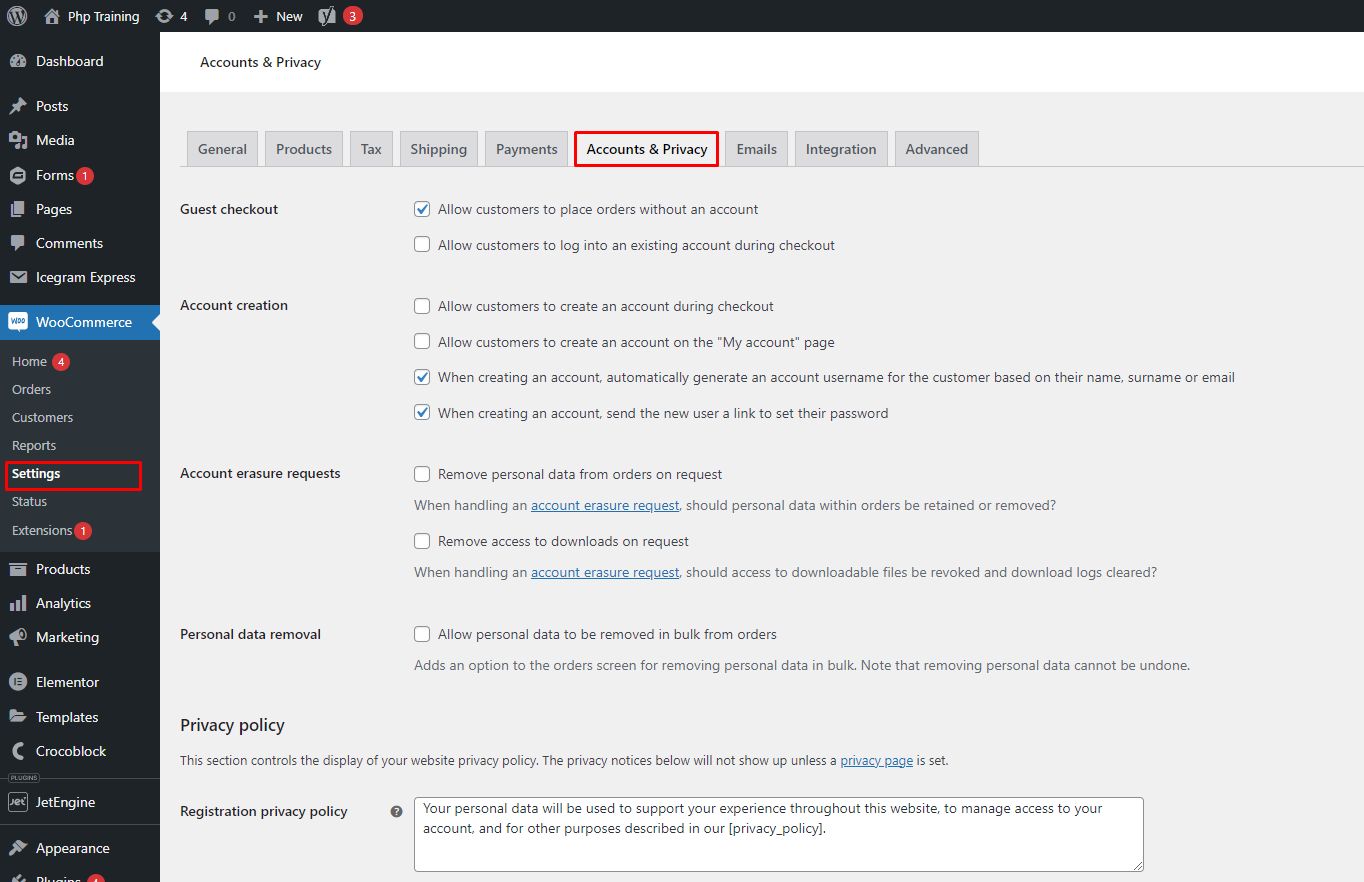
- Accounts & Privacy: Setup your accounts & privacy here.
-
- Emails: You can check your email notifications here.
-