Here's a guide on installing WordPress and running it on a fresh system using WAMP. We'll break it down into steps with explanations for clarity:
Prerequisites:
- Downloaded and installed WAMP server on your system (refer to the previous conversation for checking WAMP installation success).
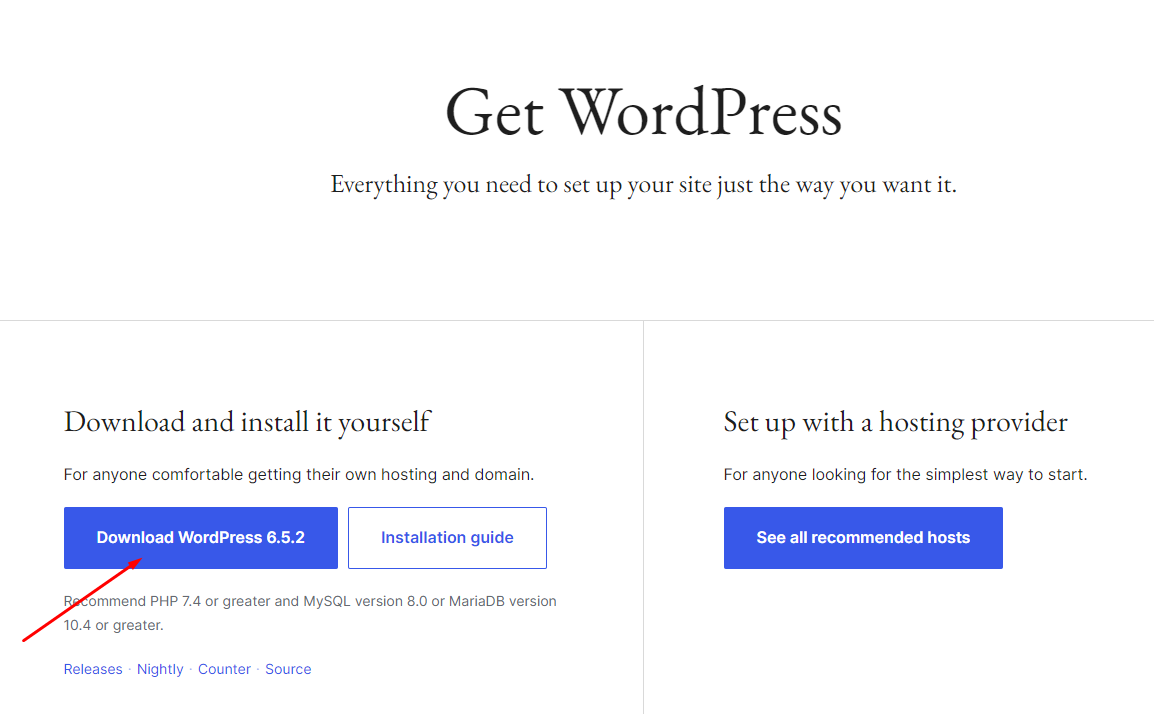
- Downloaded the latest WordPress package from the official website: WordPress Download: https://wordpress.org/
Step – 1
Configure Database in phpMyAdmin:
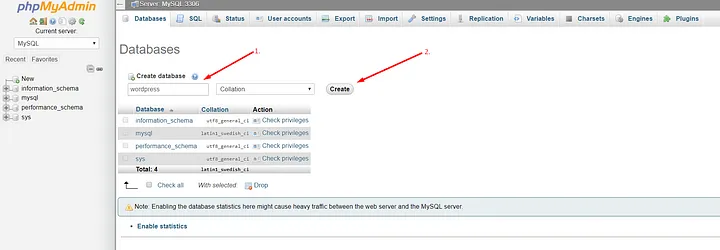
- Open your web browser and navigate to http://localhost/phpmyadmin/ in the address bar. This will open the phpMyAdmin tool for managing databases.
- Create a Database:
- In the left panel of phpMyAdmin, click on “New”.

- In the “Create database” field, enter a name for your WordPress database (e.g., “php-training”).
- Click “Create” to create the database.
- Learn more about databases click here.
Step – 2
Create a WordPress Folder:
-
- Open your file explorer and navigate to your WAMP installation directory (usually C:\wamp64\www by default).
- Right-click anywhere in the blank space and choose “New” -> “Folder”.
- Name the folder something relevant, like “php-training”.
Extract WordPress Files:
-
- Open the downloaded WordPress zip file.
- Select all the files and folders inside the zip archive.
- Right-click and choose “Extract to…”
- Choose the “php-training” folder you created in step 1 as the extraction destination.
- C:\wamp64\www\php-training\wordpress
- Open it in browser

Step – 3
Run WordPress Installation:
-
- Open your web browser and navigate to http://localhost/php-training/ in the address bar. This will launch the WordPress installation wizard.
- Choose Language: Select your preferred language from the dropdown menu and click “Continue”.

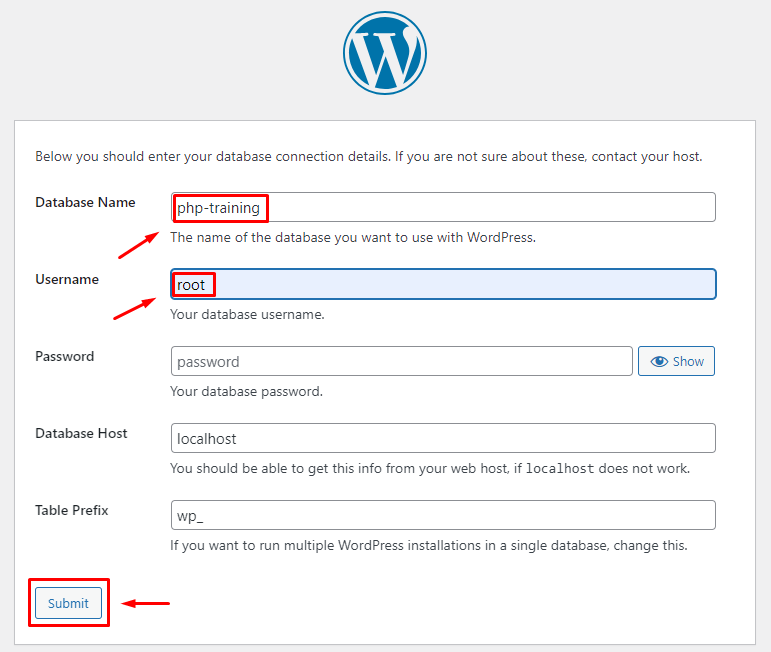
Add Database Information:
-
- In the “Database Name” field, enter the name of the database you created in step 3 (e.g., “php-training”).
- In the “Username” field, enter “root” (default username for phpMyAdmin)
- Leave the “Password” field blank (default password for phpMyAdmin is usually blank).
- Click “Submit” to proceed.
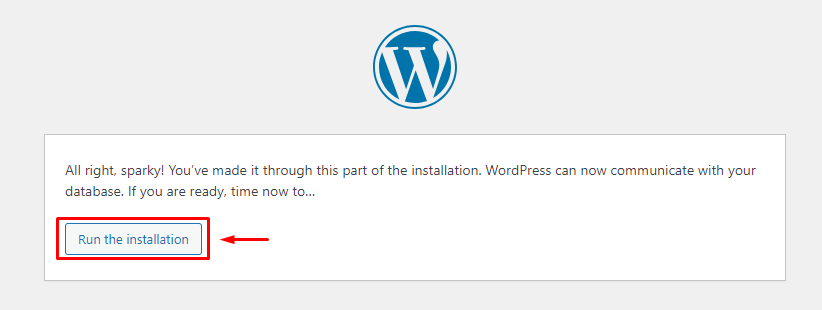
Run the installation:
-
- Enter your desired website title, username, password, and email address in the corresponding fields. Choose a strong username and password for security.
- Click “Install WordPress” to complete the installation.

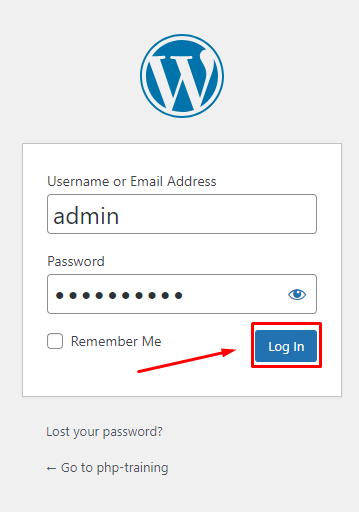
Login: You'll be redirected to the WordPress login page (http://localhost/php-training/wp-admin/). Use the username and password you created during installation to log in.

Click on ‘Login’ once the installation has been done.
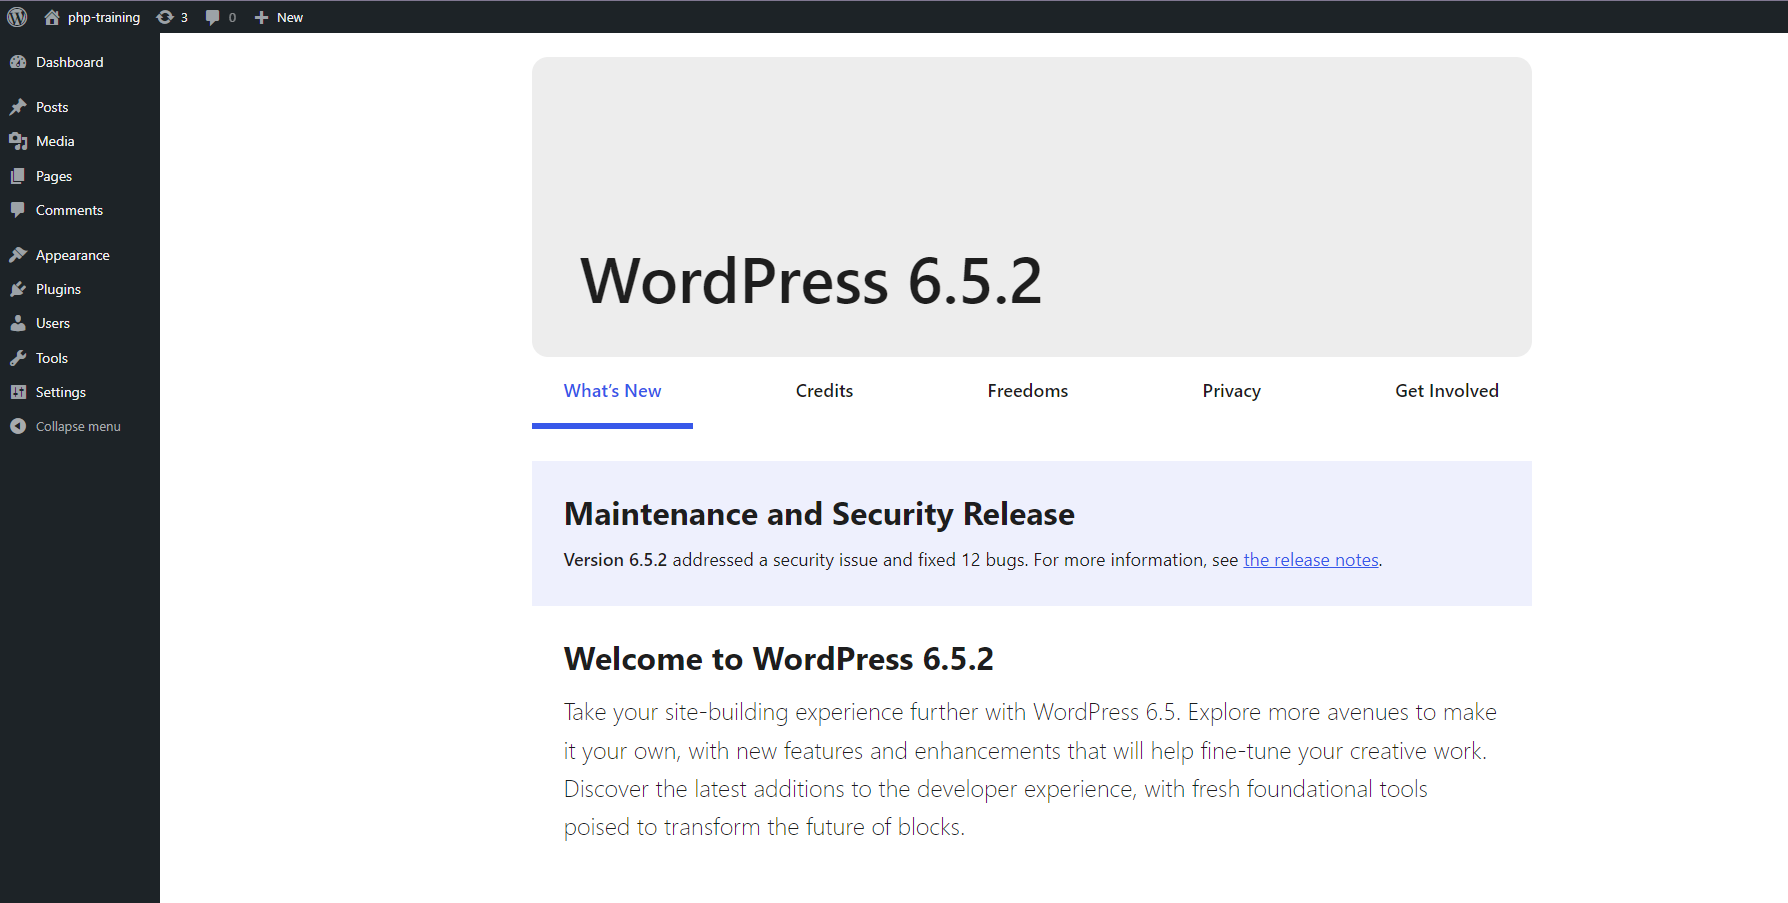
Congratulations! You've successfully installed and can now start using WordPress on your local machine with WAMP.
Want to know more about wordpress.