1. Download the new phpMyAdmin:
- Head to the official phpMyAdmin downloads page
- Find a version that works with your WAMP's PHP version (check your WAMP documentation if unsure).

- Download the zip file.
2. Install the new phpMyAdmin :
- Unzip the downloaded file.
- Open your WAMP folder and find the apps folder inside.
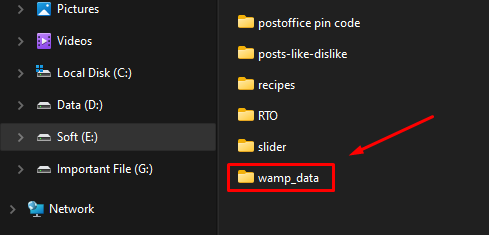
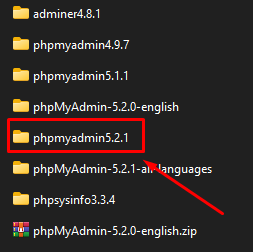
- Copy all the unzipped phpMyAdmin files and folders into the apps
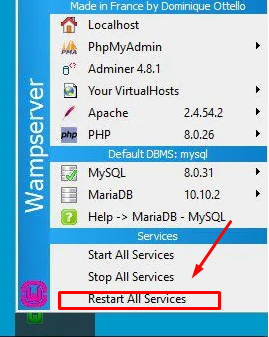
3. Restart WAMP (optional):
- Right-click the WAMP server icon in your system tray and choose “Restart All Services”.
4. Try the new phpMyAdmin:
- Open your web browser and go to http://localhost/phpmyadmin.
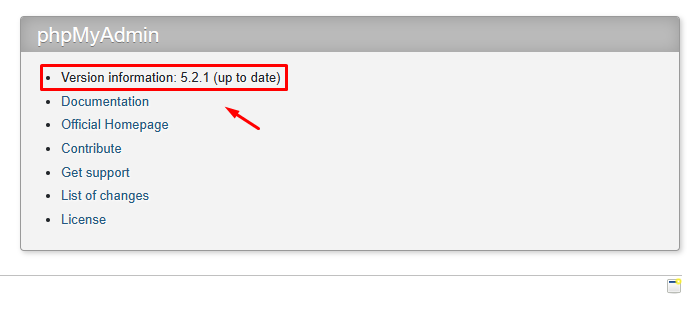
- If the new phpMyAdmin version is installed correctly, you should see the new interface.
Here's the catch:
This doesn't truly “change” the version. You've basically added a new phpMyAdmin alongside the existing one. You might still see the old version when launching from the WAMP menu.


